The First Part
/Last night was one frought with successes and failures. The first part in this long process of creating miniature roller coasters was successfully milled. That is, after a few days of failures. However, growth comes from setbacks. Or a large pain in one’s ass.
You’ll notice from the picture that much has changed from the last few posts. Most notably, the use of a vise instead of superglue and a sacrificial plate. Nothing against the superglue, but I know this method repeatedly works.
Now the issues...
I used whatever stock I had in supply, and it’s dimension was roughly 3/4 inches. That works all well and good until you square the stock for milling and your closest parallel is just large enough to cause the end mill to hit the vise. (David hangs head in shame).
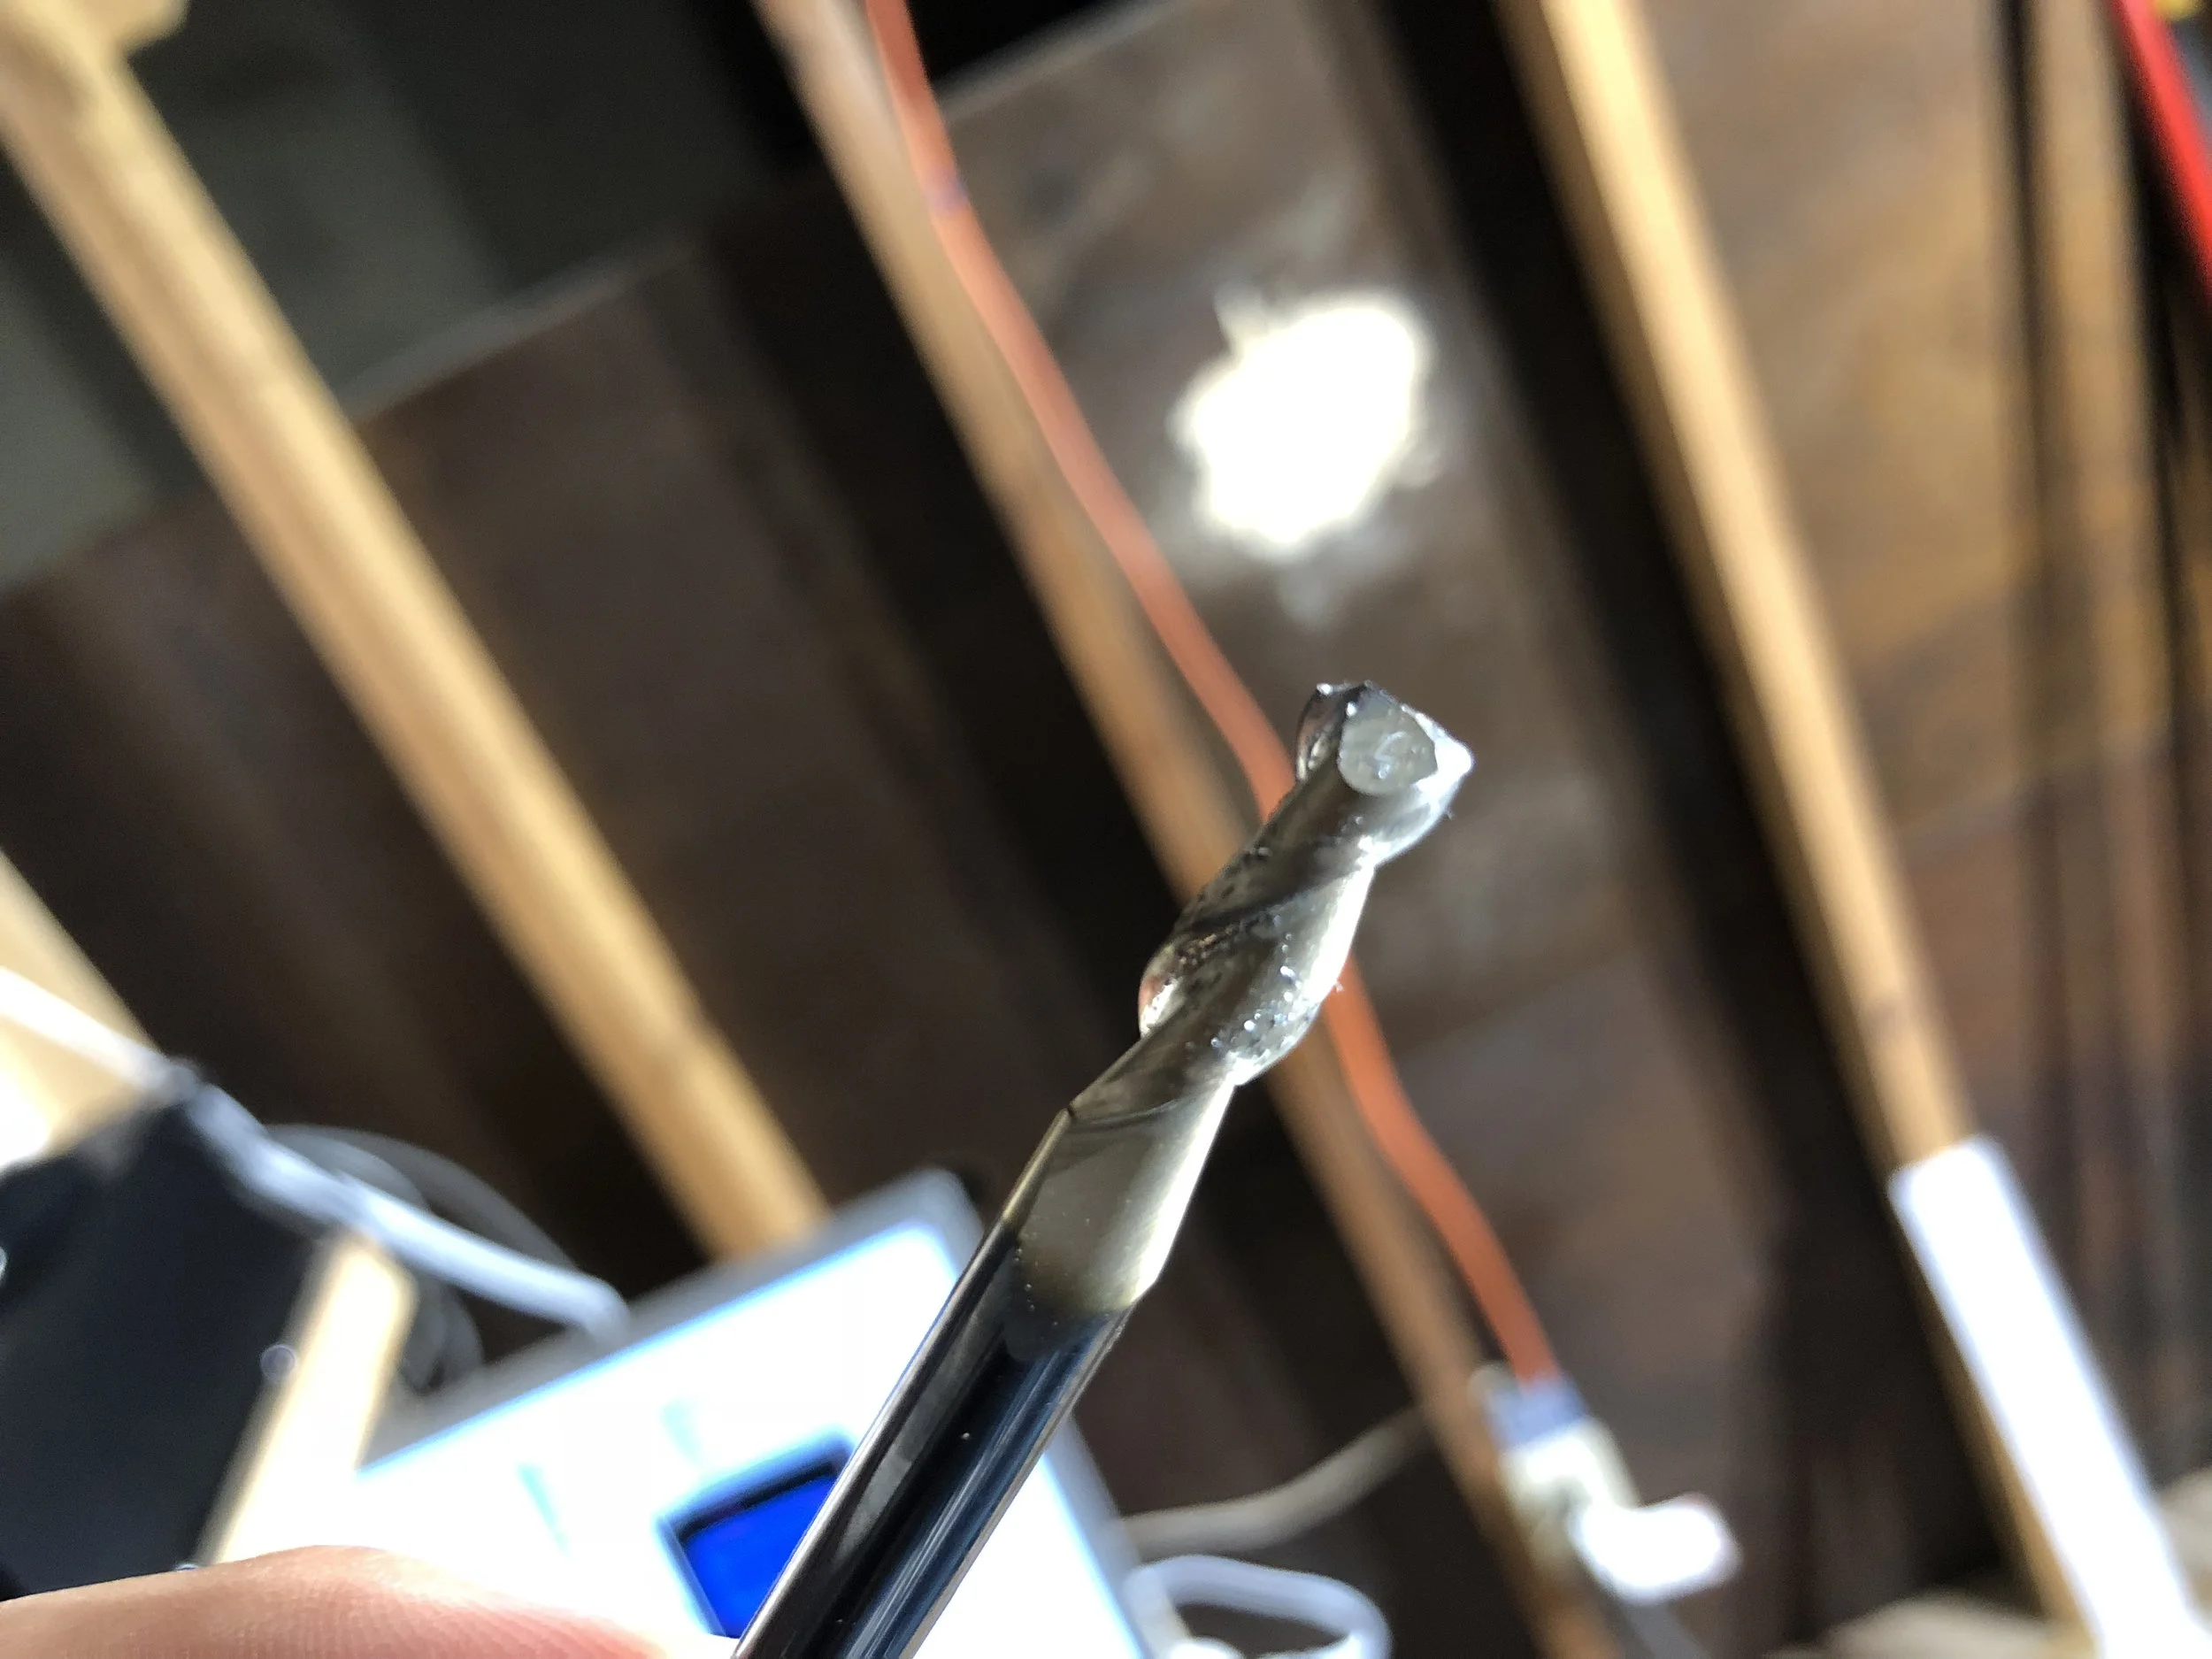
Somehow, I managed to not get the happenings on film or take a picture of it. I have much of the aftermath that will be present in Friday’s YouTube video. This failure caused the end mill to chip, thus, it’s basically worthless. S***.
I destroyed one of my aluminum cutting end mills, but fortunately I had a three flute steel cutter on hand for the win. In the picture above you can seee where it collided with the vise and part.
Before pushing forward with machining, I altered the design and g-code in Fusion 360. After updating everything, it was a complete success. I even ramped up the spindle speed.
This part had many firsts, of which milling dual sided pockets with my 1/8th inch aluminum cutter with lots of coolant. Basically the area to place the wooden supports to keep them straight. The other first was chamfering the part once completed. It worked successfully with my quarter inch spot drill cutter.
The part can now be used to build ride bents, and the next video will show it in action! As said before, the video (with bloopers) will be up tomorrow at 10 AM EST and subsequent videos will be up on Fridays.
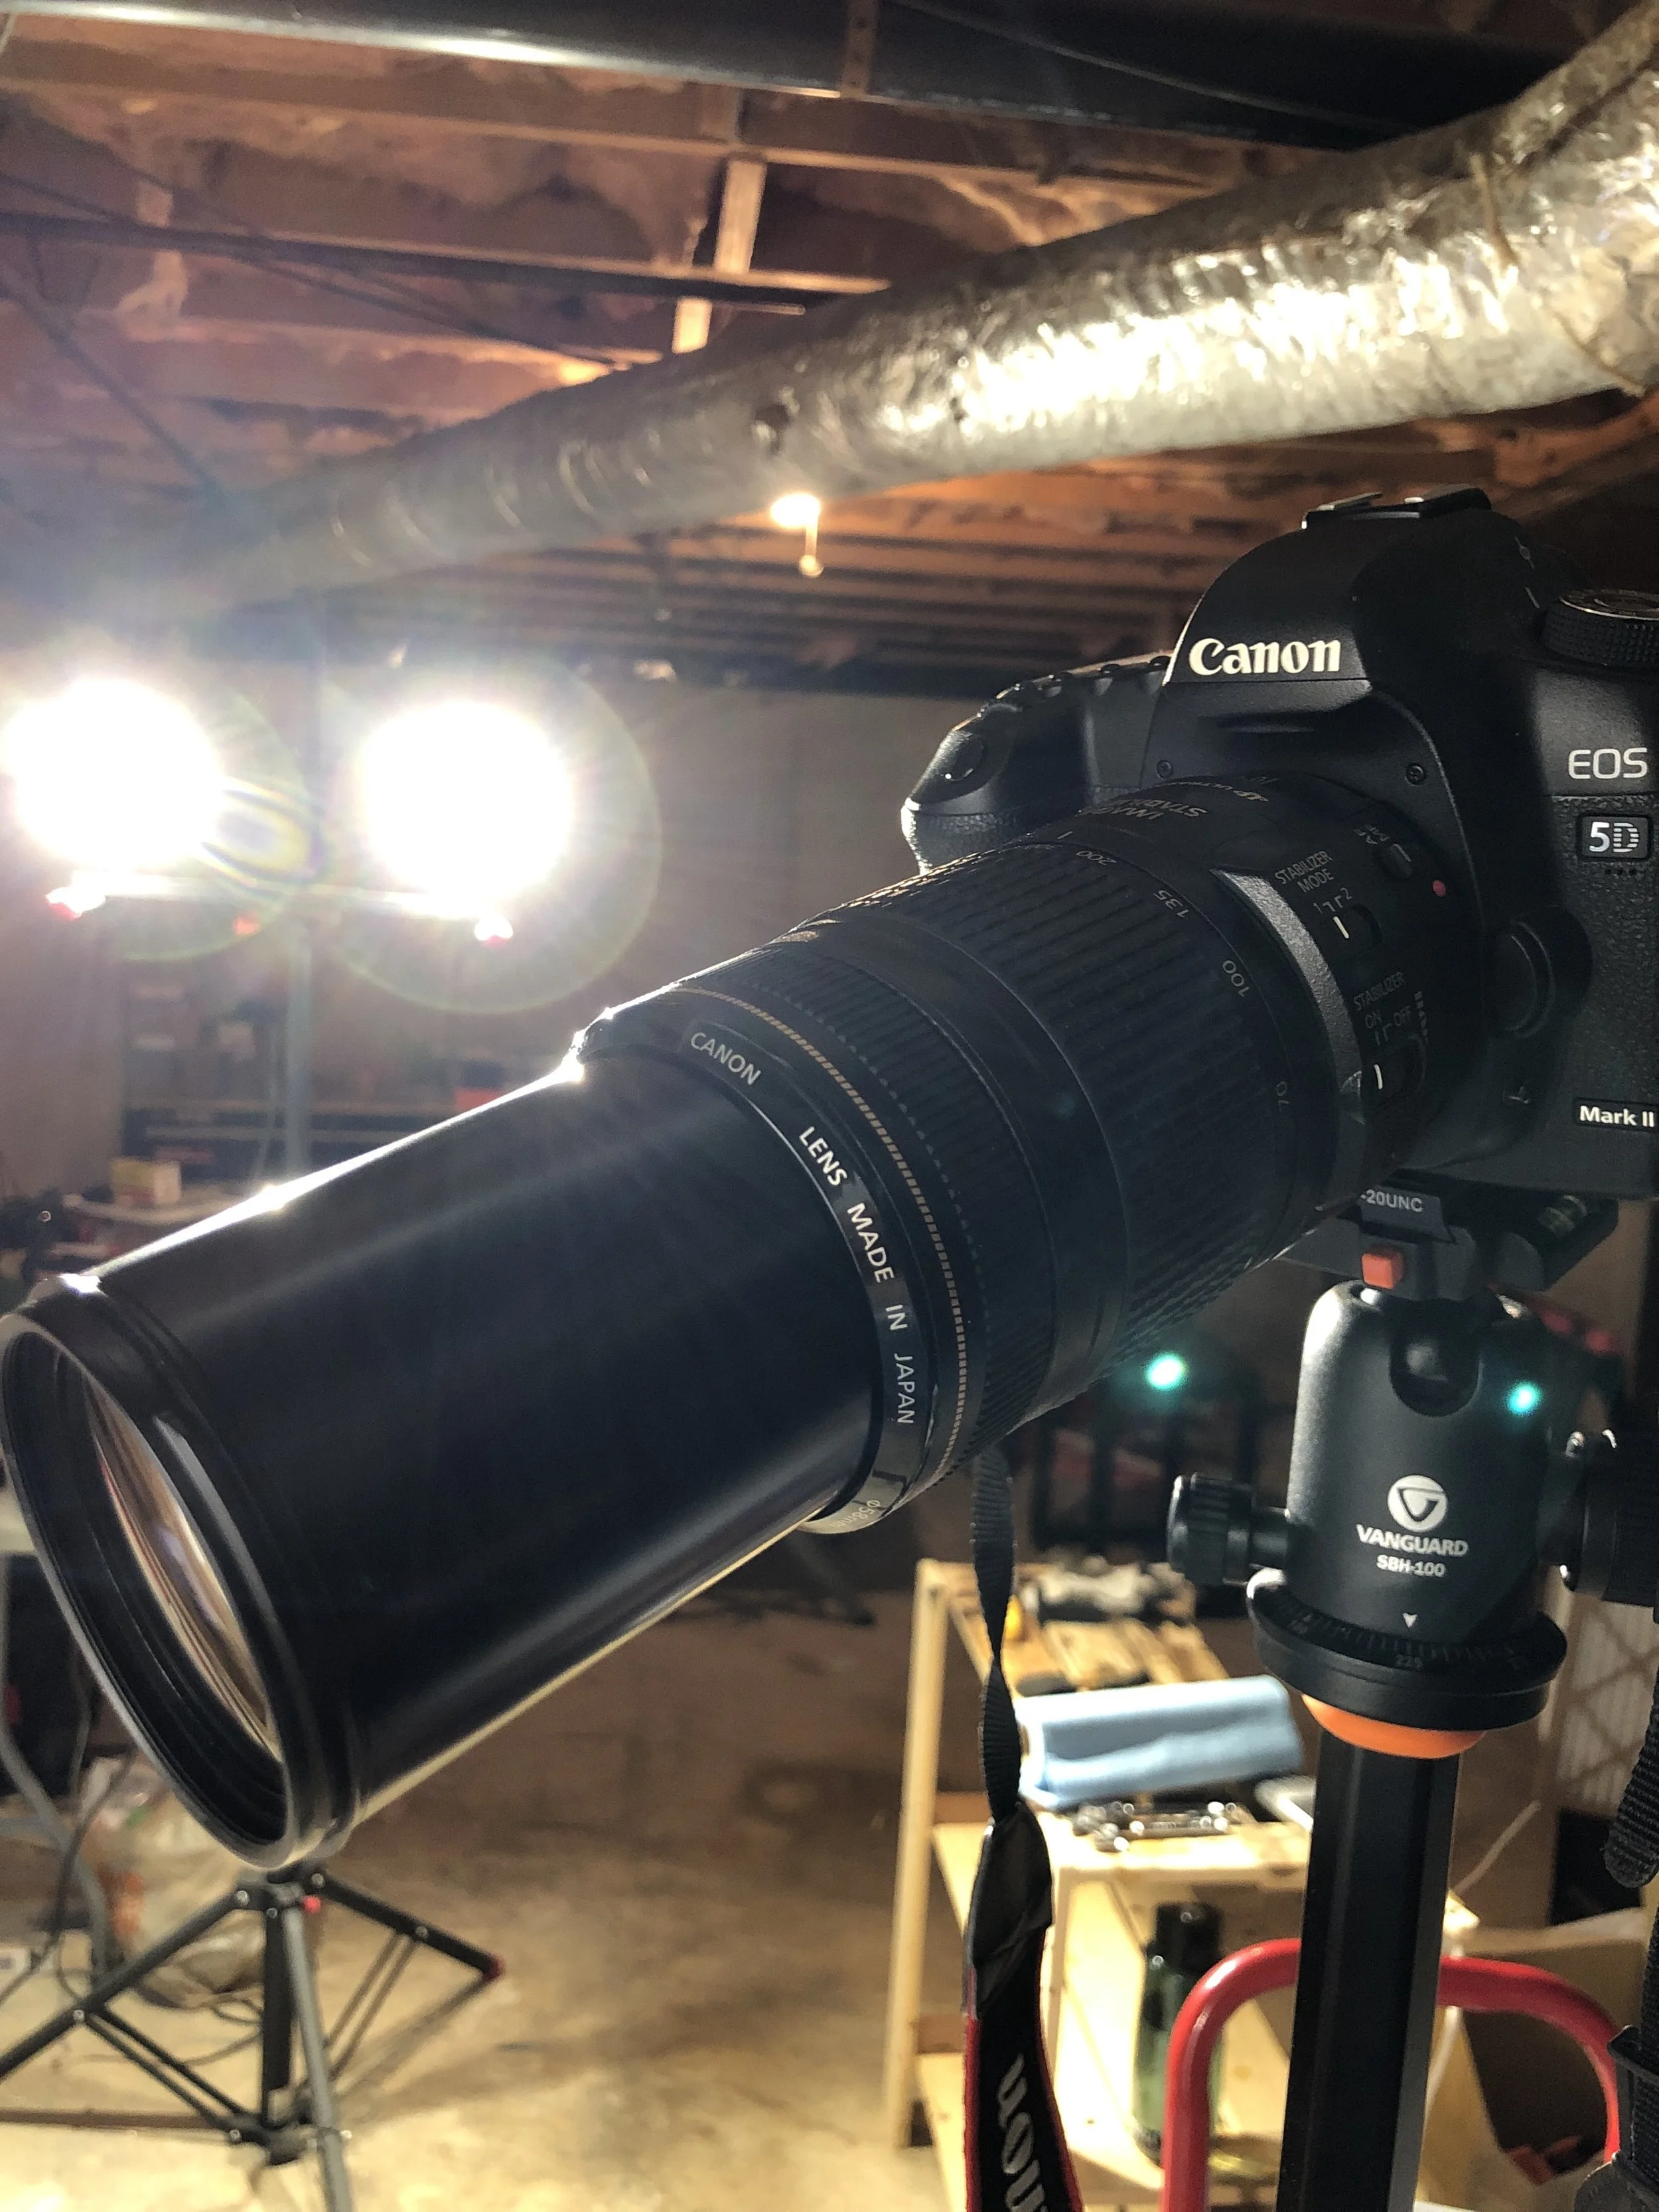
A little excessive? This lens makes some beautiful photos and videos. But, don’t forget to pour one out for the fallen end mill.


