
Casting Ornaments with Resins
/With all of the efforts I’ve made towards building miniature working coasters, I often run into issues with producing many parts at one time. The issue persists with smaller models and machining/3D Printing when it comes to the amount of time required to produce similar and many parts. Much is the same problem in real world applications: car parts are mass produced not by complex machining, but rather casting multiple instances of the same master part.
For making this little coaster, I learned early on how important it would be to try to cast some parts of the ride which are repeated upwards of 300 times and car parts that need to be as close to one another as possible. So what does this have to do with Christmas?

Finished Car Ornament (early model)
A good way for me to learn how to “successfully” cast designed parts in resin just happened to coincide with the holiday season. I also need to make some type of revenue for this money pit of a project over the past nearly decade. So…Christmas ornaments (for now), and later desktop cars to keep you company while you work. I also say “successfully” since when I first began this project the ideas was to cast some parts in resin, but I did a terrible job of it and that resin eventually expired… Sigh…
However, this time around I have learned a few things and have better methods to make the master parts from which you create your molds for casting.
Resin Printing Car Bodies
For the sake of speed and not dealing with complexity of draft angles in the model (the tilted sides of the seats that require rotational machining), I decided to 3D print the car bodies with my resin Elegoo Saturn printer. There were some issues producing these master sets at first, and after a few iterations and hollowing the model I produced some nice parts.

Masters for Mold Making
The models used for mold making were made of UV cure resin (3D printer) and Renshape (synthetic wood) which is easy to machine for highly detailed parts. For the coaster parts, I will be incorporating all of these materials for making master parts. The Renshape is super simple to work with, too, and very forgiving if you don’t quite enter the correct machining speeds and feeds.
Once the masters are printed and machined, the next step is to pour silicone rubber for a repeatable mold. You can make molds out of harder materials, and for the finished coaster and larger production I will be making some molds from aluminum (aluminium for you British folk). But, for now silicone seems to work well.

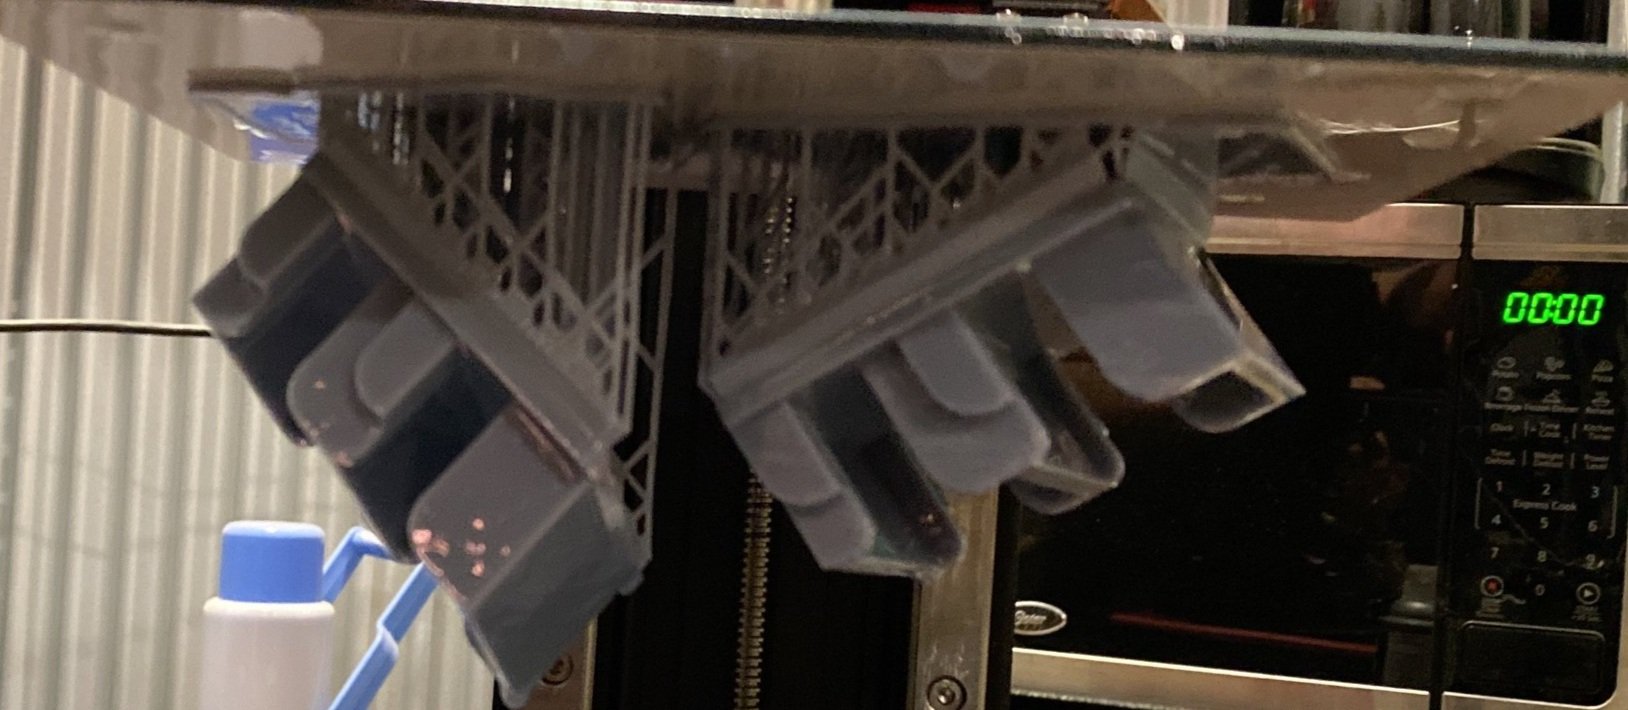
Pouring Silicone
The silicone I am using in this photo is Alumilite Mold Maker, and it’s a softer rubber which makes it simple to pull casted parts out once cured. All of these materials are two part compounds when once mixed they begin a chemical process of solidifying into their final form. For this silicone, the two parts will have to be “degassed” so that there are no void (air bubbles) once cured.
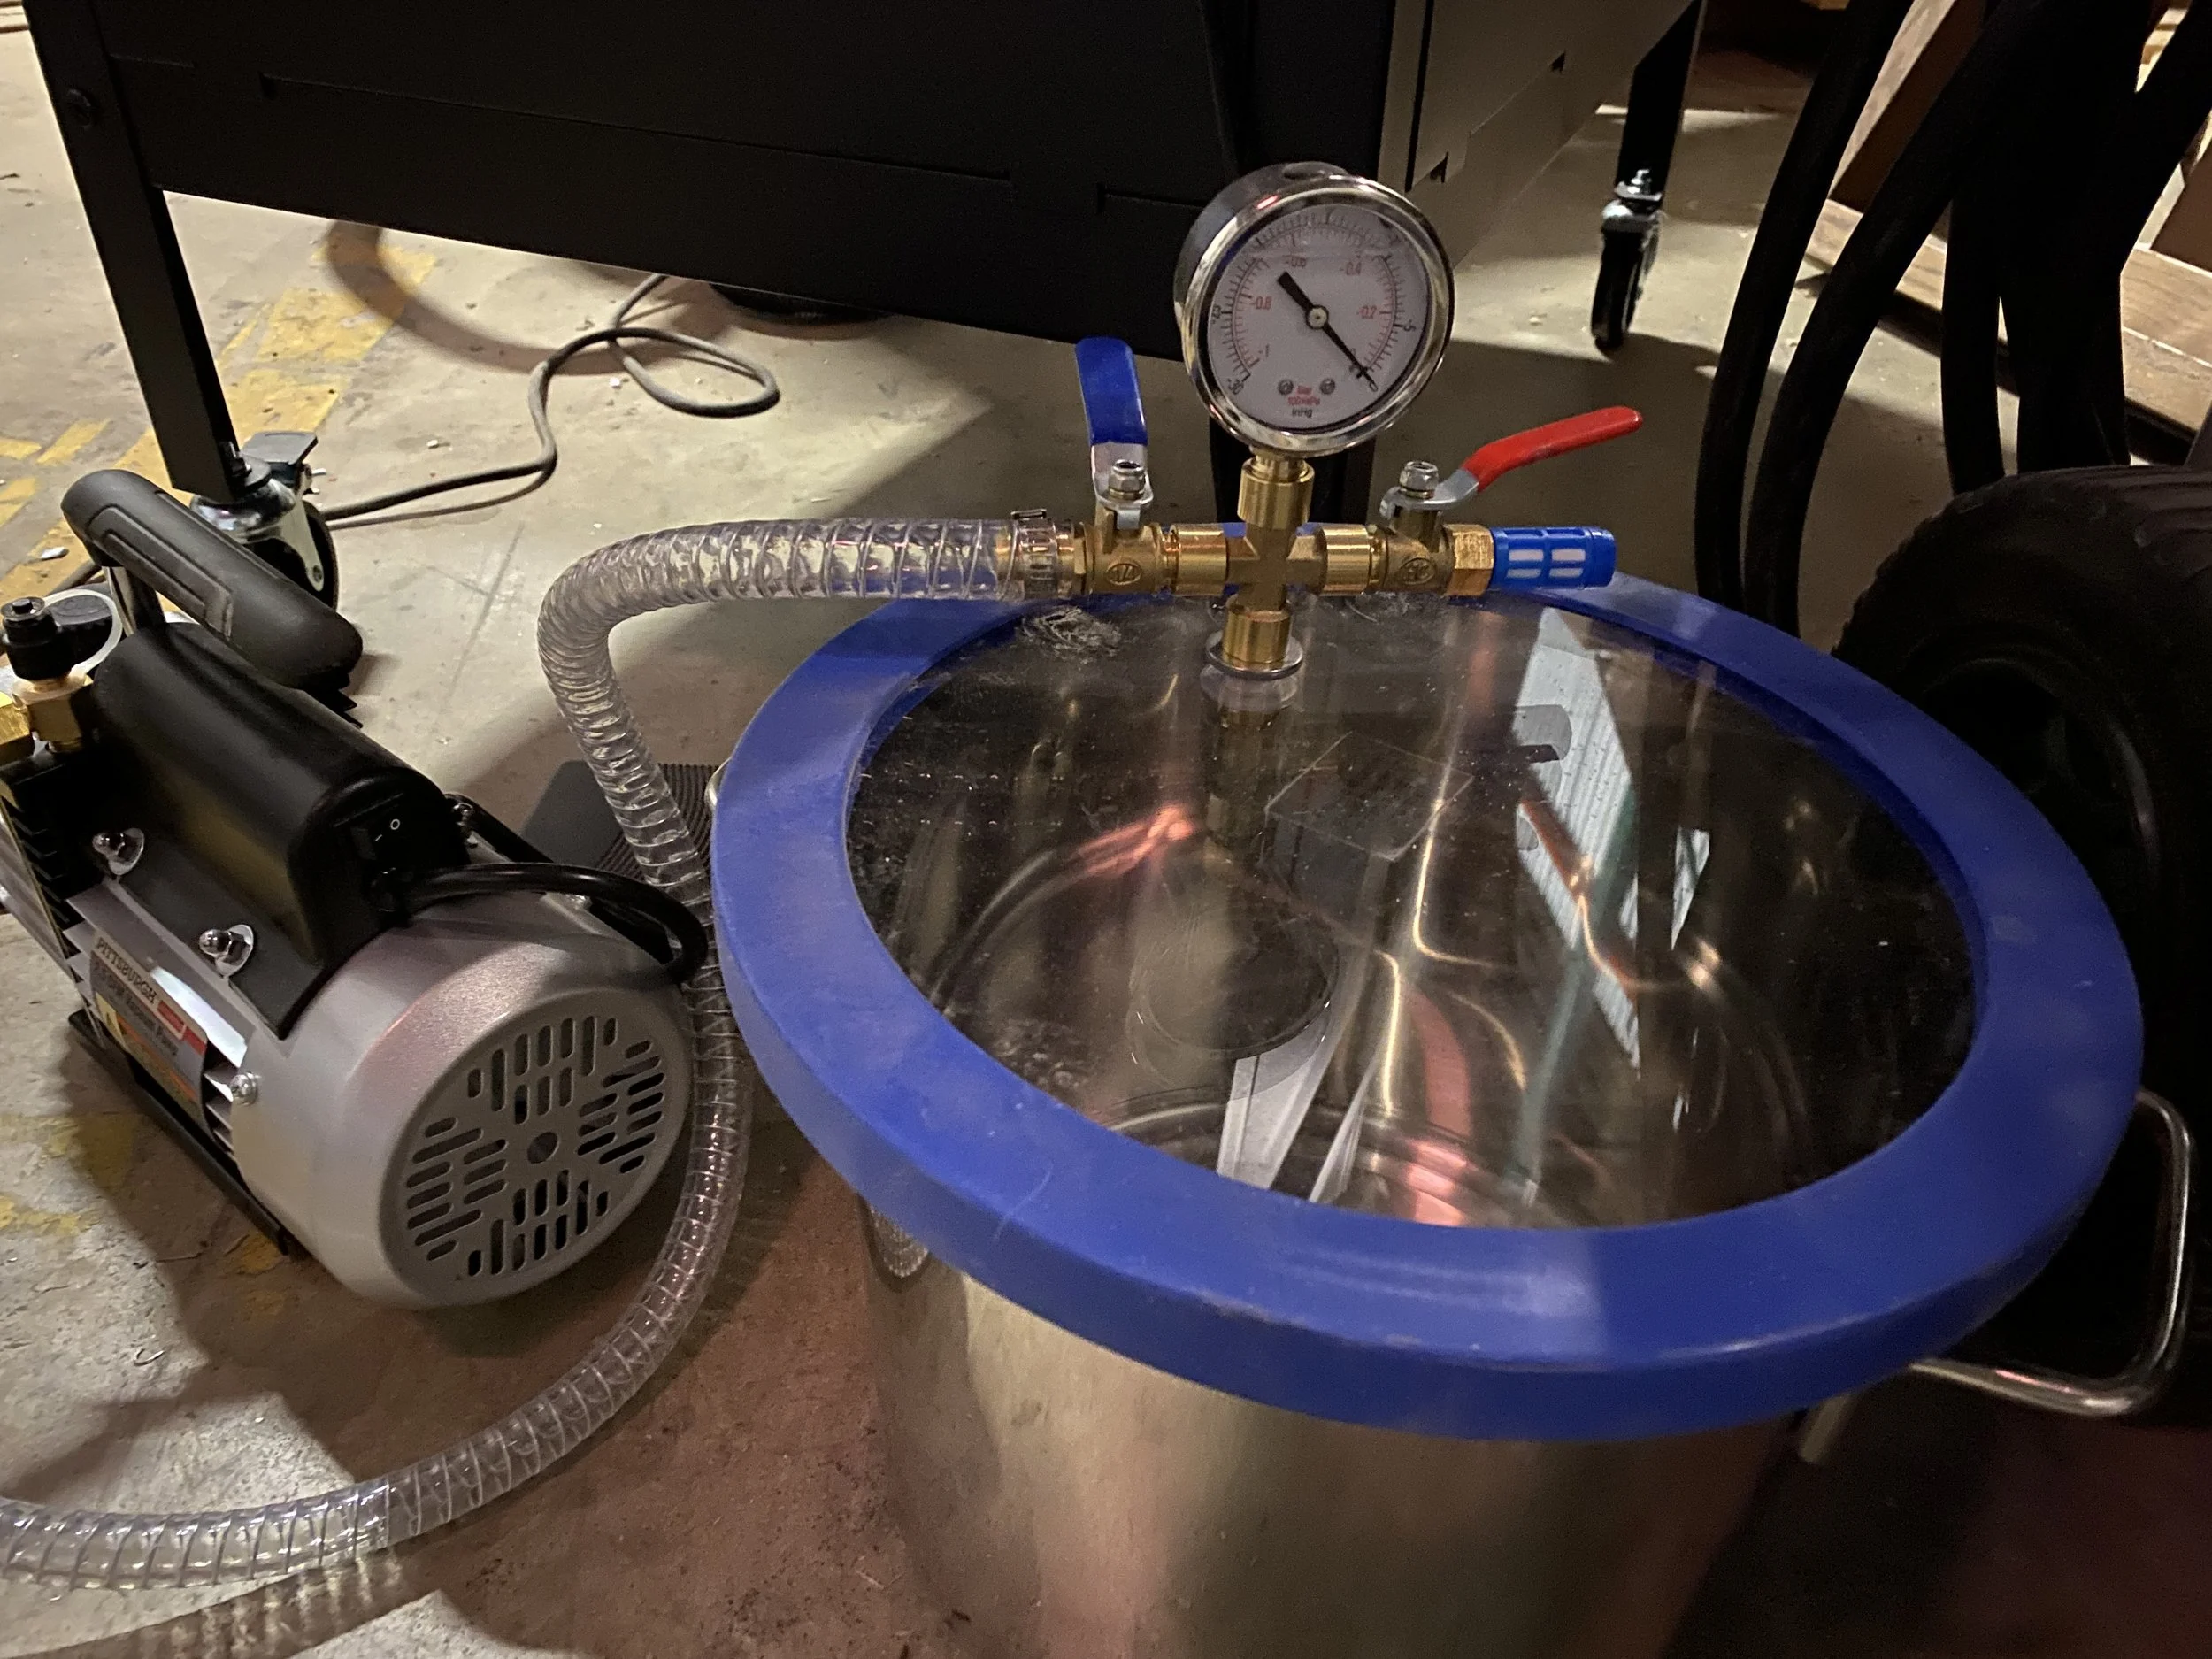
Vacuum Chamber and Pump
A simple vacuum chamber is used to remove bubbles from the mixed silicone, and can be used to remove bubbles from mixed epoxy…but we will get to that later. Under full vacuum (about -15 psi) the bubbles begin to rise and leave the mixture. Once fully degassed, you can pour the silicone from the bottom of master part and let the silicone work its way around the model until fully covered. For this type of silicone, the cure time is about 24 hours for full cure but demold time is only 30 minutes. Keep in mind this at around room temperature.

Not the prettiest of things, but these were early attempts.
While not the best looking things I’ve made (trust me I’ve made more since these two version and I don’t suck…as much), but they work well. Silicone is great since urethane and epoxy resin don’t bond to it, and removal is fairly simple.
Once I made some molds for the two parts of the little coaster car ornament (really three, but who’s counting) it was time to pour some urethane. Urethane resin can come in many colors and types but the best approach for me is to get generic white resin and add coloring to make it whatever color I desire….
Too easy, eh? Yes, I ruined many castings trying to narrow down some good color combinations. Epoxy has its own issues too, but that’s the next section.

New Urethane Test
Urethane is another two part compound that will begin curing once mixed. Sadly, the working time with this resin (and many others) is about 2-3 minutes. So, you have to work fast to get it into the mold for your parts. The resin above is actually white, and I added specific pigment dyes to make this color. This was a first run to see how much dye to add…and I clearly didn’t add enough so it’s pink.
The resin I am using is from BJB Enterprises and is TC-808. I am also using their special pigments for correct coloring. The drawback to using urethane resin is the dye being pretty expensive, but there really isn’t a way to use anything other than formulated pigments on urethanes… You can see my attempt at adding acrylic paint to urethane as a test. It failed pretty quick.

Water causes urethane to react poorly and foam up.
Urethane has its own issues with bubbles, much like silicone. To ensure there are no bubbles in the final part, a pressurized chamber is used to squeeze the bubbles from the resin.

Rigging up a Harbor Freight wonder. Epoxy can use the vacuum chamber to remove bubbles, though.
Prior to using this quality urethane resin, I bought some clear casting epoxy from a craft store to try. The clear epoxy is made by Alumilite, just like the silicone for the mold, and is relatively cheap and widely available. Again, a two part mixture that cures once combined. Epoxy unlike urethane resin cures very slowly: 24 hours to demold… so to make these parts quickly is non-existent.
Now when it comes to dying the epoxy resin, there are some great and cheap options out there. One of the best is acrylic paint. But wait, it can’t be cheap stuff…as I found out. If you use cheaper acrylic paints there is a high amount of water which makes the epoxy less rigid and ultimately rubber-like. But here are some acrylic dyed car bodies:

Varying amounts and types of dye.

Varying percentages 5% (blue) and 3% (red) by weight
The epoxy is a pretty solid choice for making these little cars and offers a wide variety when it comes to colors. I am still playing with the best acrylics to dye the material, and so far “artist” quality seems to be the way to go due to the concentration of dye. However, I may switch between the two depending on what properties I’m looking for in the final product.
Think of epoxy like a hardened steel: often times stronger but more brittle. While urethane is more like a carbon steel: ability to flex but lower ultimate strength. Simply put, they have their places.
So what does all of this mean? Well, I still have cars to make and sell for the Christmas season, and after Christmas they will be available year-round for models for the desk or pillow or as a safety blanket type thing…I dunno…whatever you’re into. But this was great testing for the roller coaster model and making multiple repeatable parts.
If you’d like to purchase a little car ornament, then checkout the page HERE. Grab an ornament prior to December 15th so you can get it by Christmas, and prior to them becoming non-tree cars.
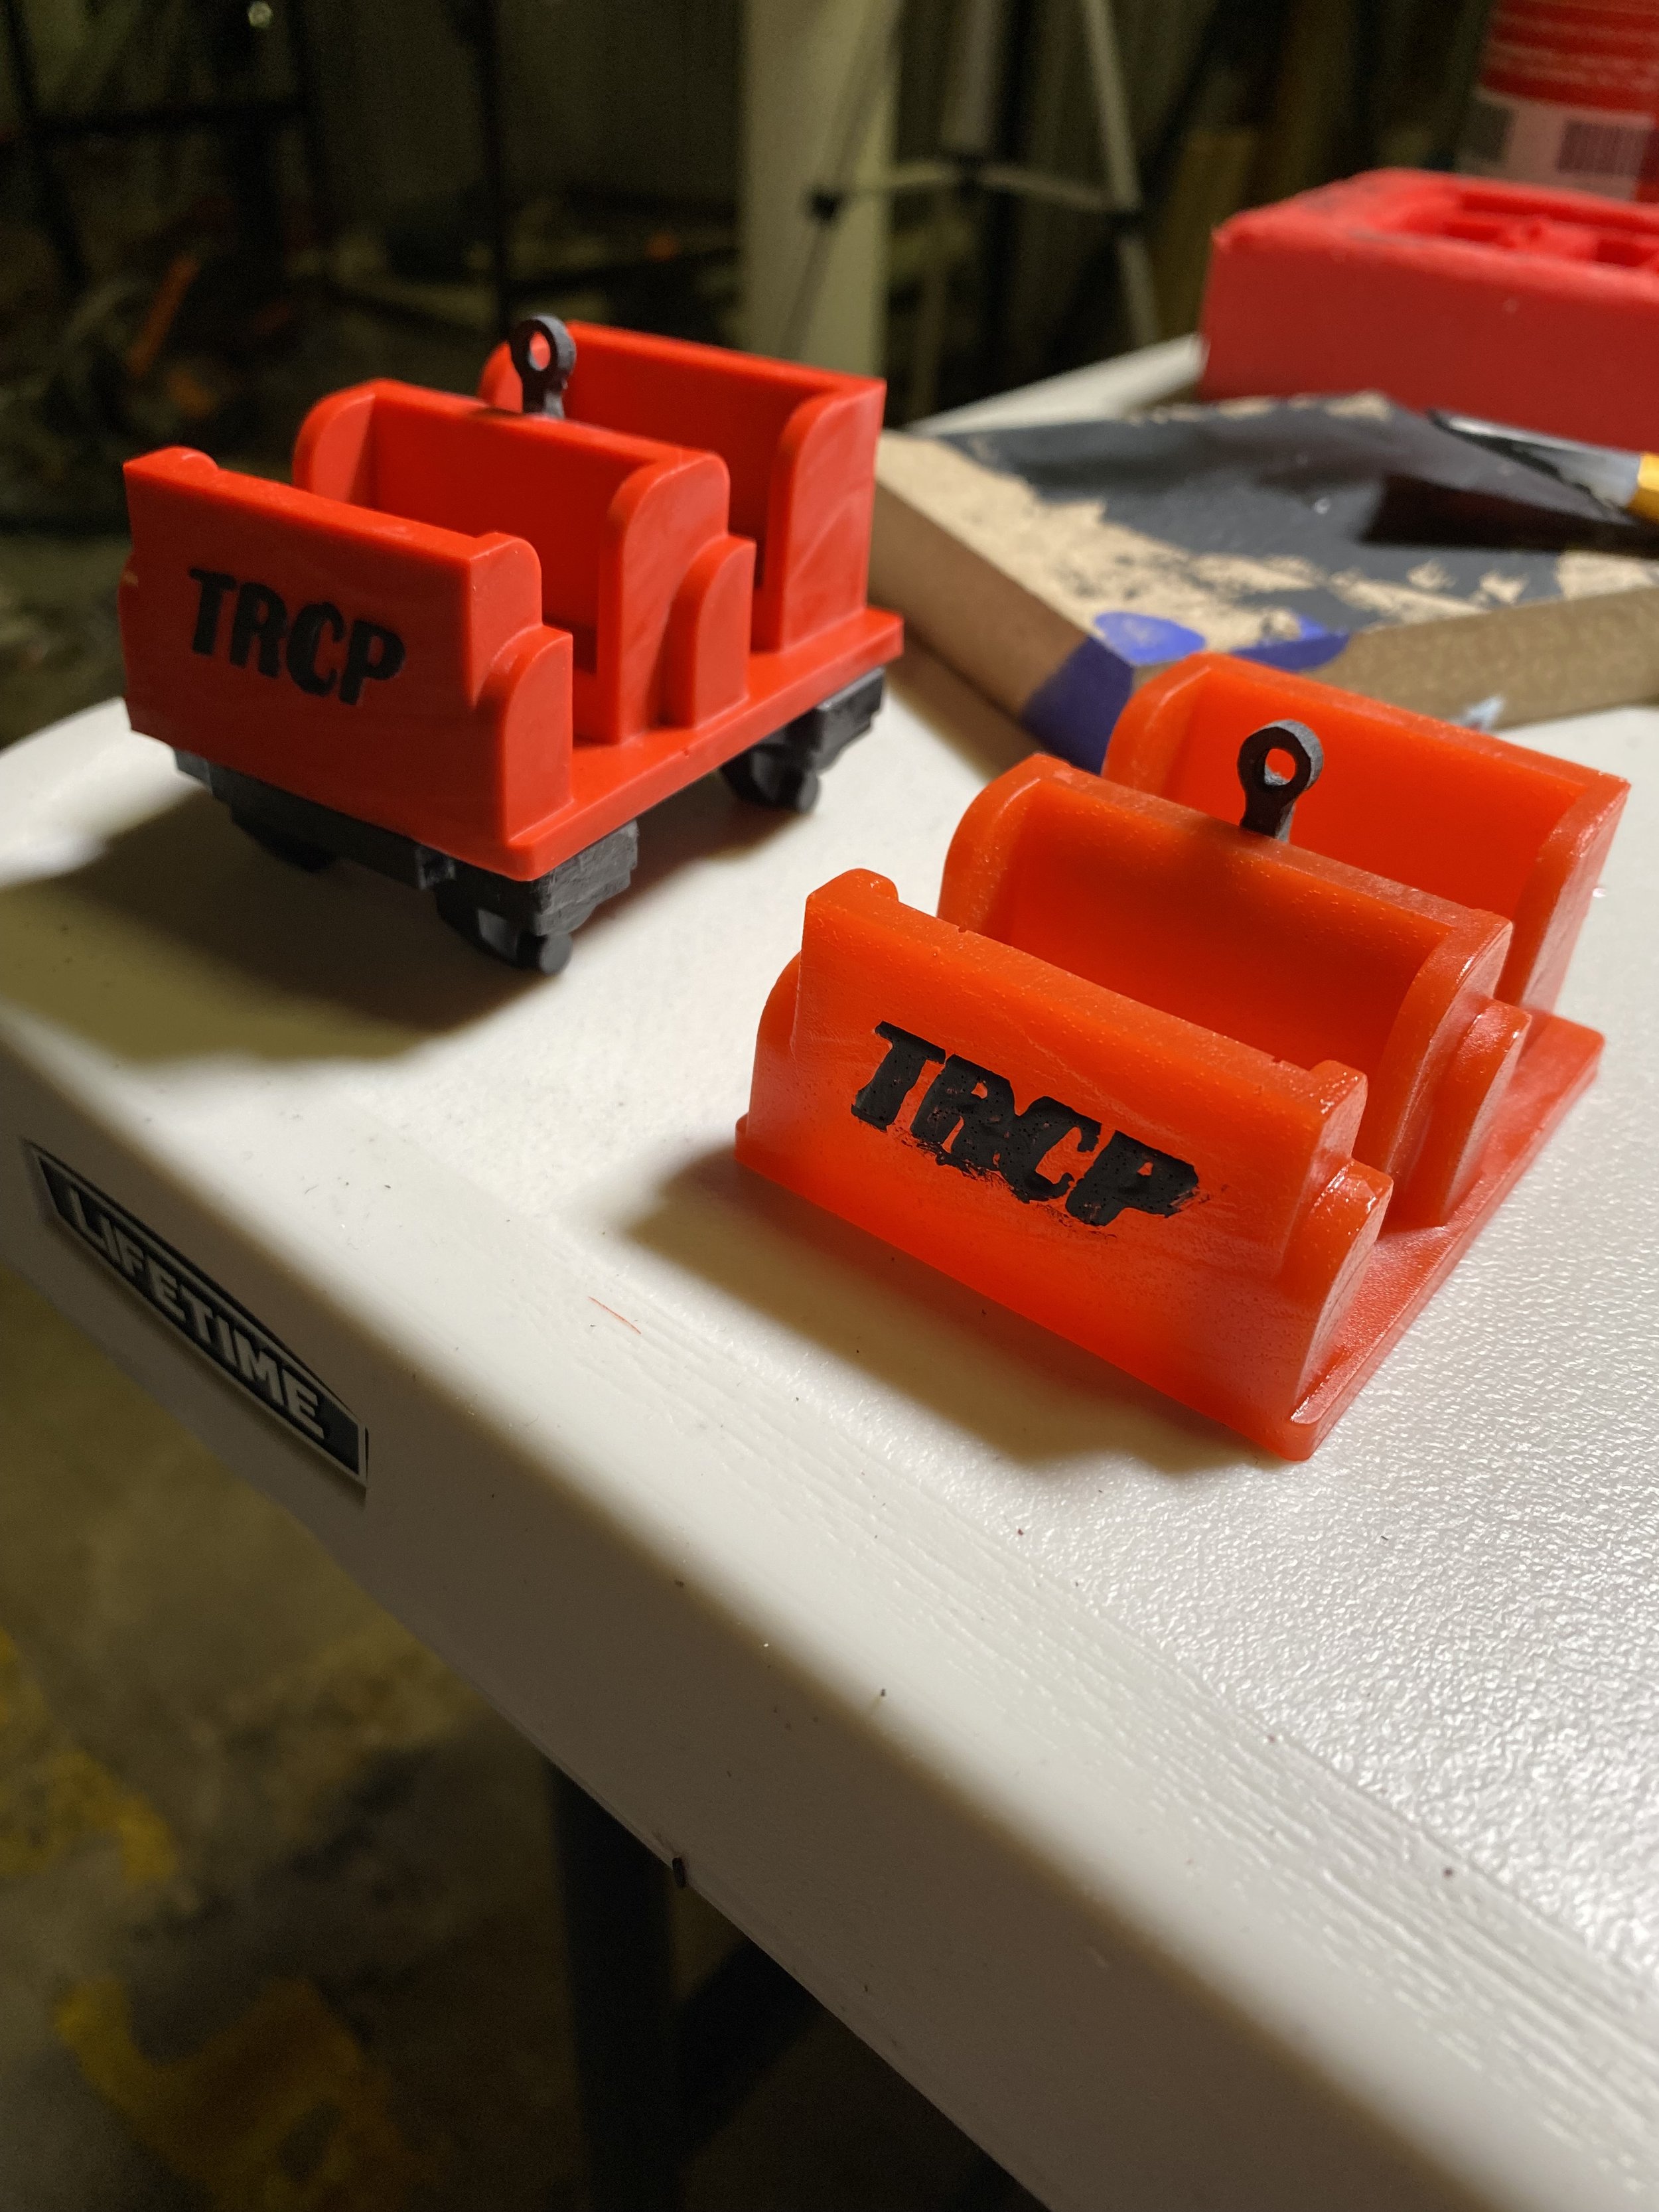
Have to fix the lettering on this car… it never stops.

Painting the prototype…prior to using dyes.