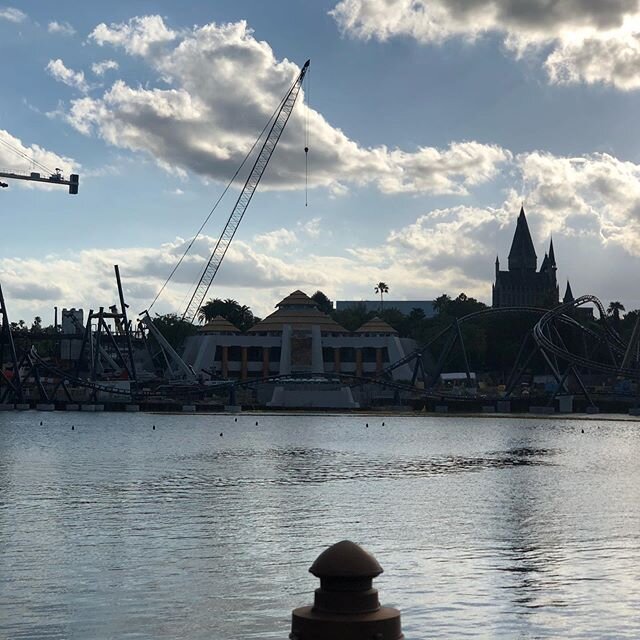

The First Sections
/Since completing the ride centerline and bent design, it was time to start fabrication. The entire ride will be broken up in multiple sections due to complexity and time.

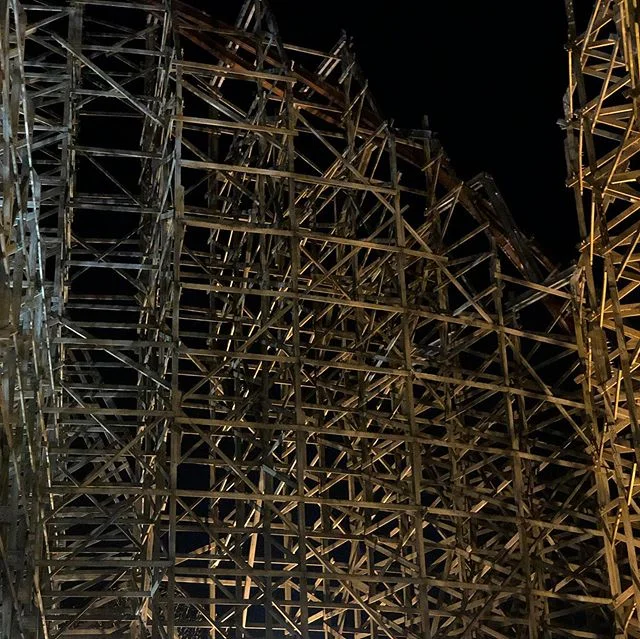
The lift hill
The first section of focus includes the “run to the lift” and lift hill. I chose these portions due to lack of banking. Sadly, I still need to complete the banking for the turns along the ride.
Since the lift hill incorporates many mechanical features such as chain, sprockets, and anti-roll back I had to include drilled holes in locations for future use.
Now the building…
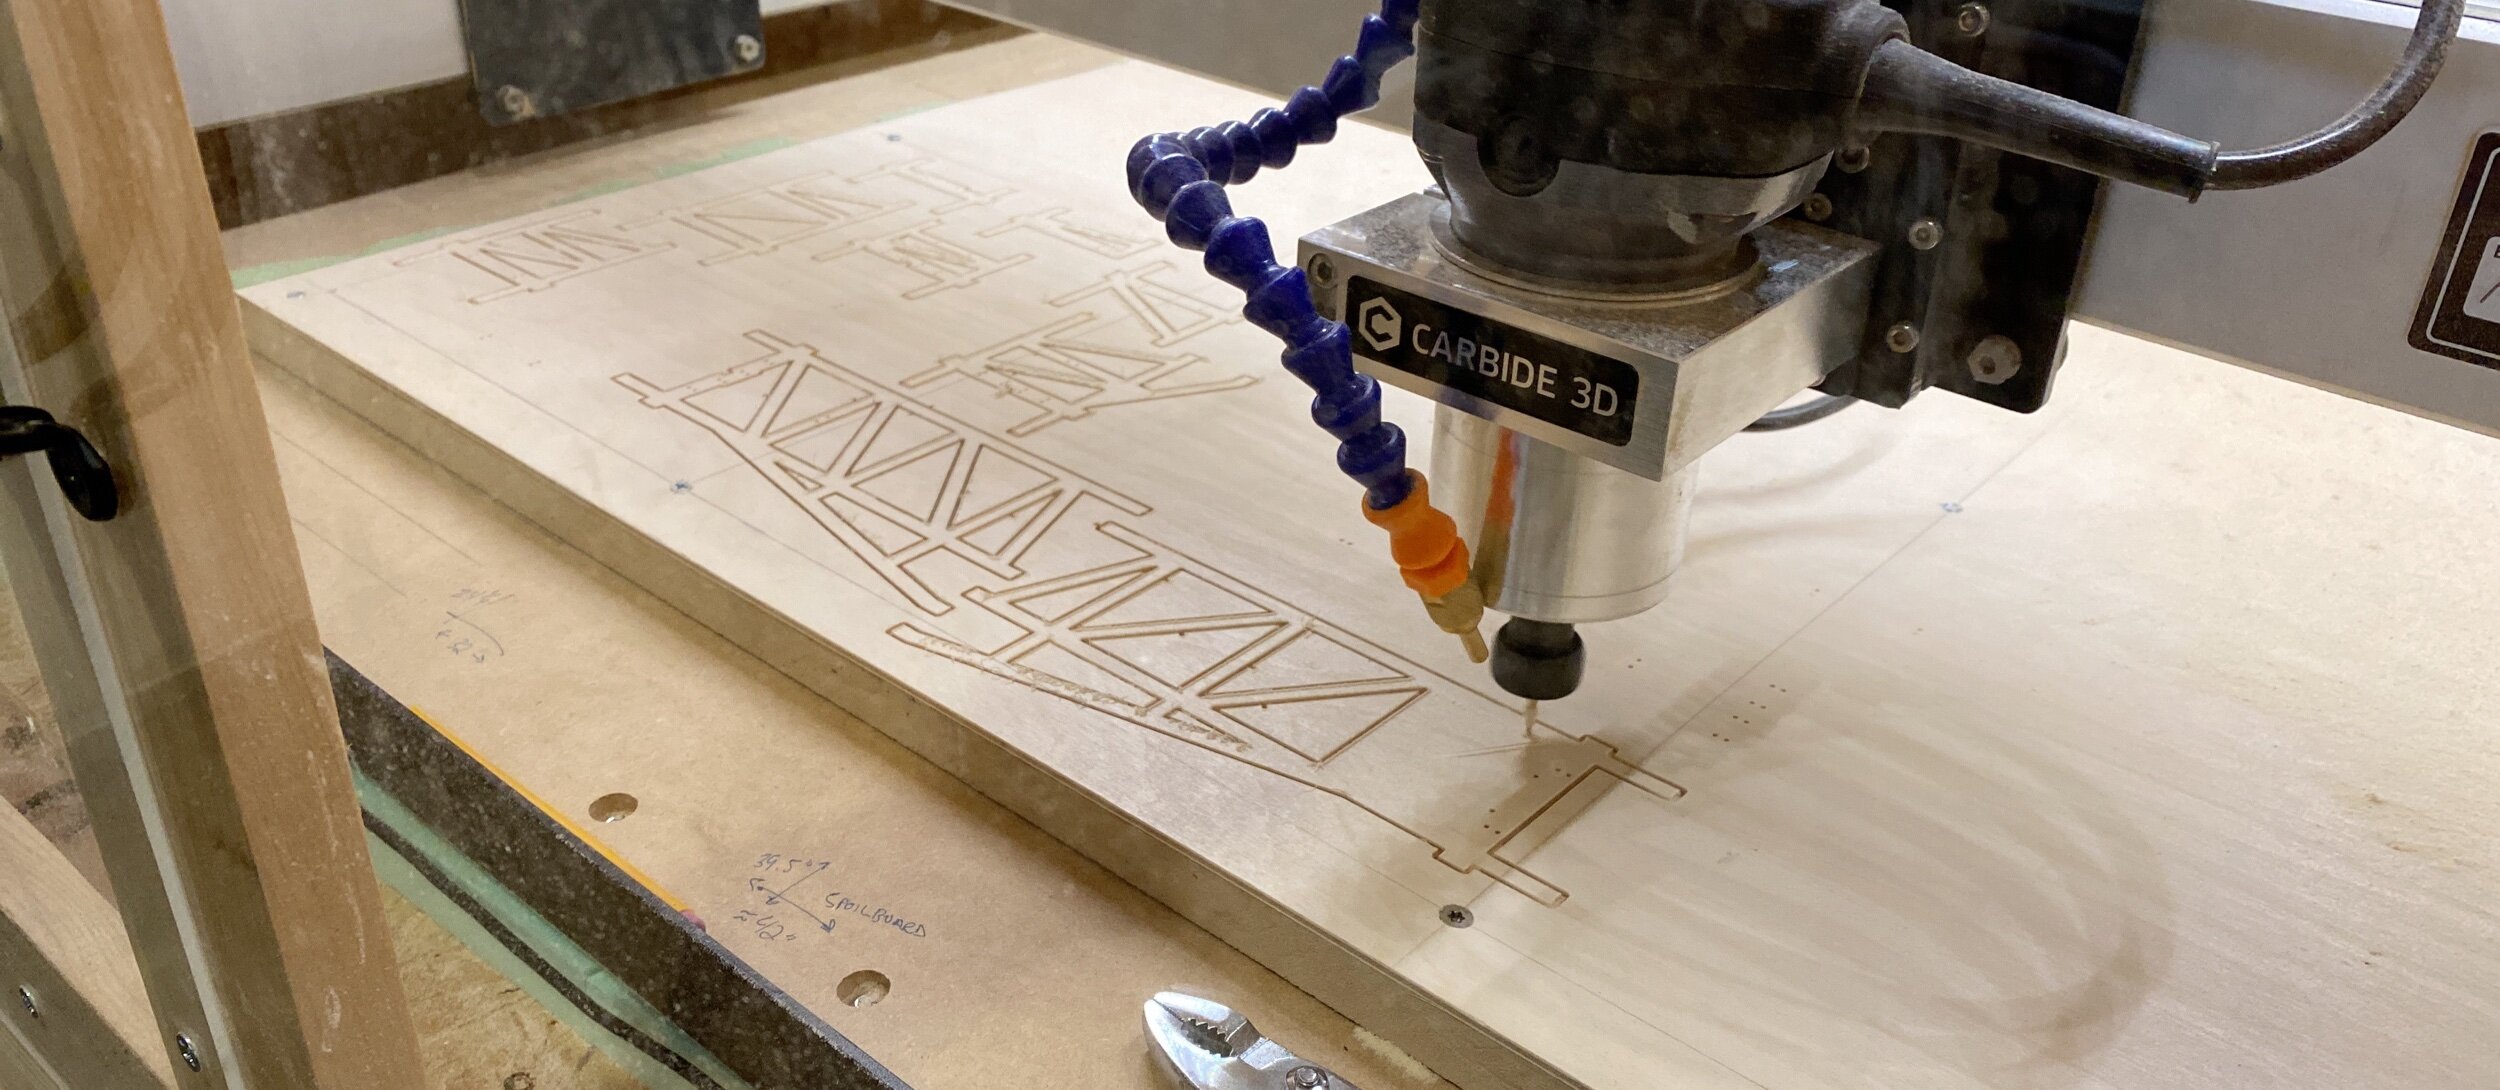
The shapeoko going strong
Creating the machine code in Fusion 360 and setting up the Shapeoko XXL, the lift supports could be machined.
Initially, I had a few problems with how to secure the large wooden sheet of Birch, which is 24”x32”. Using a laser cutter would probably be simpler, but I don’t have one…yet. Either way, the Shapeoko works well for large items and even using small cutting tools for the intricate details proved to be pretty simple.
The real issue with using any mill or CNC router is how to hold work pieces. This proved to be no exception since holding this massive sheet was simple, but accounting for small parts to be cut out required some thought.

Material cut too thin faIling to hold.
My thought process for holding these cut parts to avoid extra finishing work later was to leave a 0.01” “onion skin” around the edges. Basically, don’t machine too far down to cut straight through the material. Another option would be tabs of material to keep the workpiece connected in specific areas. Sometimes cleaning up the tabs can take far too long, so I decided to use the onion skin method.
Man, did I make a bad choice…

A mess in the making
To make things easier, without using my box cutter, I decided to get an Oscillating Tool. Now, this would have worked better had I chosen tabs, but nevertheless I attempted to cut out the supports.
After an hour or so, I realized I now had to sand every inch of the parts. Leaving the onion skin led to an exorbitant amount of work. F***
Using a set of files and trying many methods to clean up the excess wood, I found a good balance of sanding with metal files. Eventually, I cleaned up the parts enough for prototype quality. Next time I’m use tabs…
Now came the install of supports on the foundation.

The first section
There were some issues with pressing the supports in the milled foundation holes due to dimensional inaccuracies. I had a feeling this would happen to an extent, but maybe going forward I need to find a way to improve the fixturing method of the supports.
A few thoughts I had were cast foundation pedestals, or rounded holes. The way to straighten the supports finally will come from the track rails and final bracing, so either option might work.
Just some thoughts, but I’ll be uploading a YouTube video soon to cover the first section’s assembly.

A New rail type